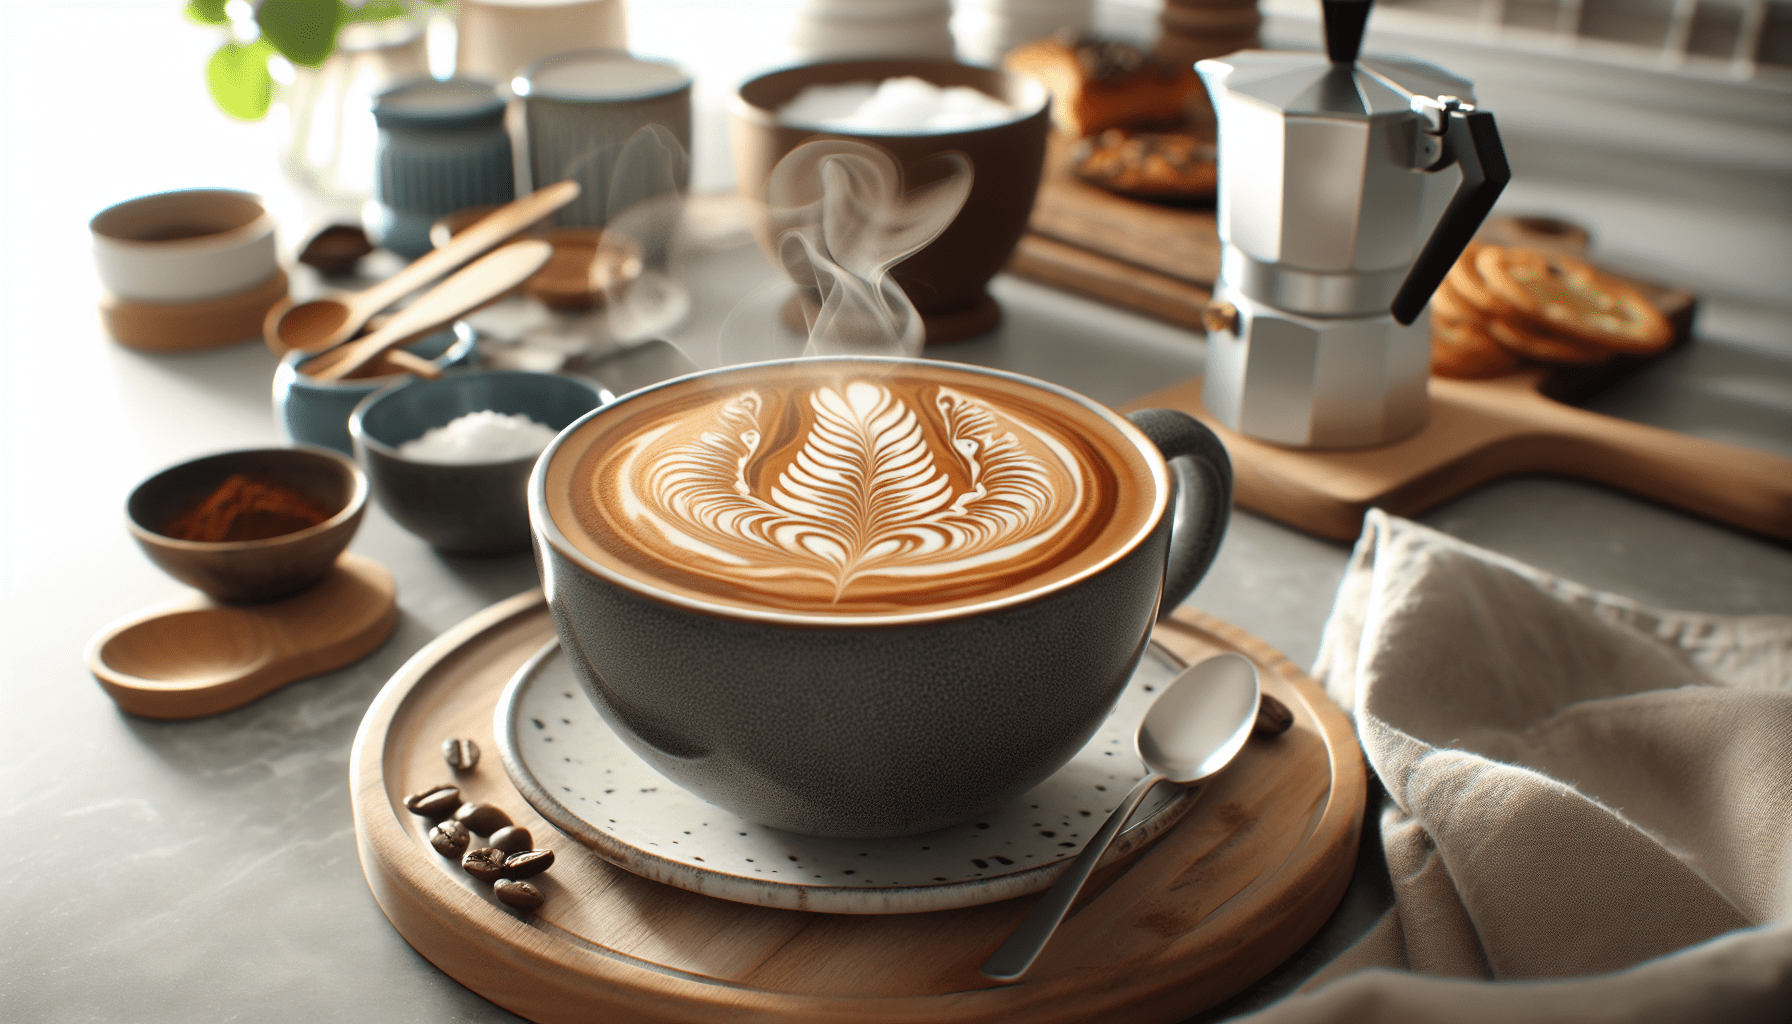
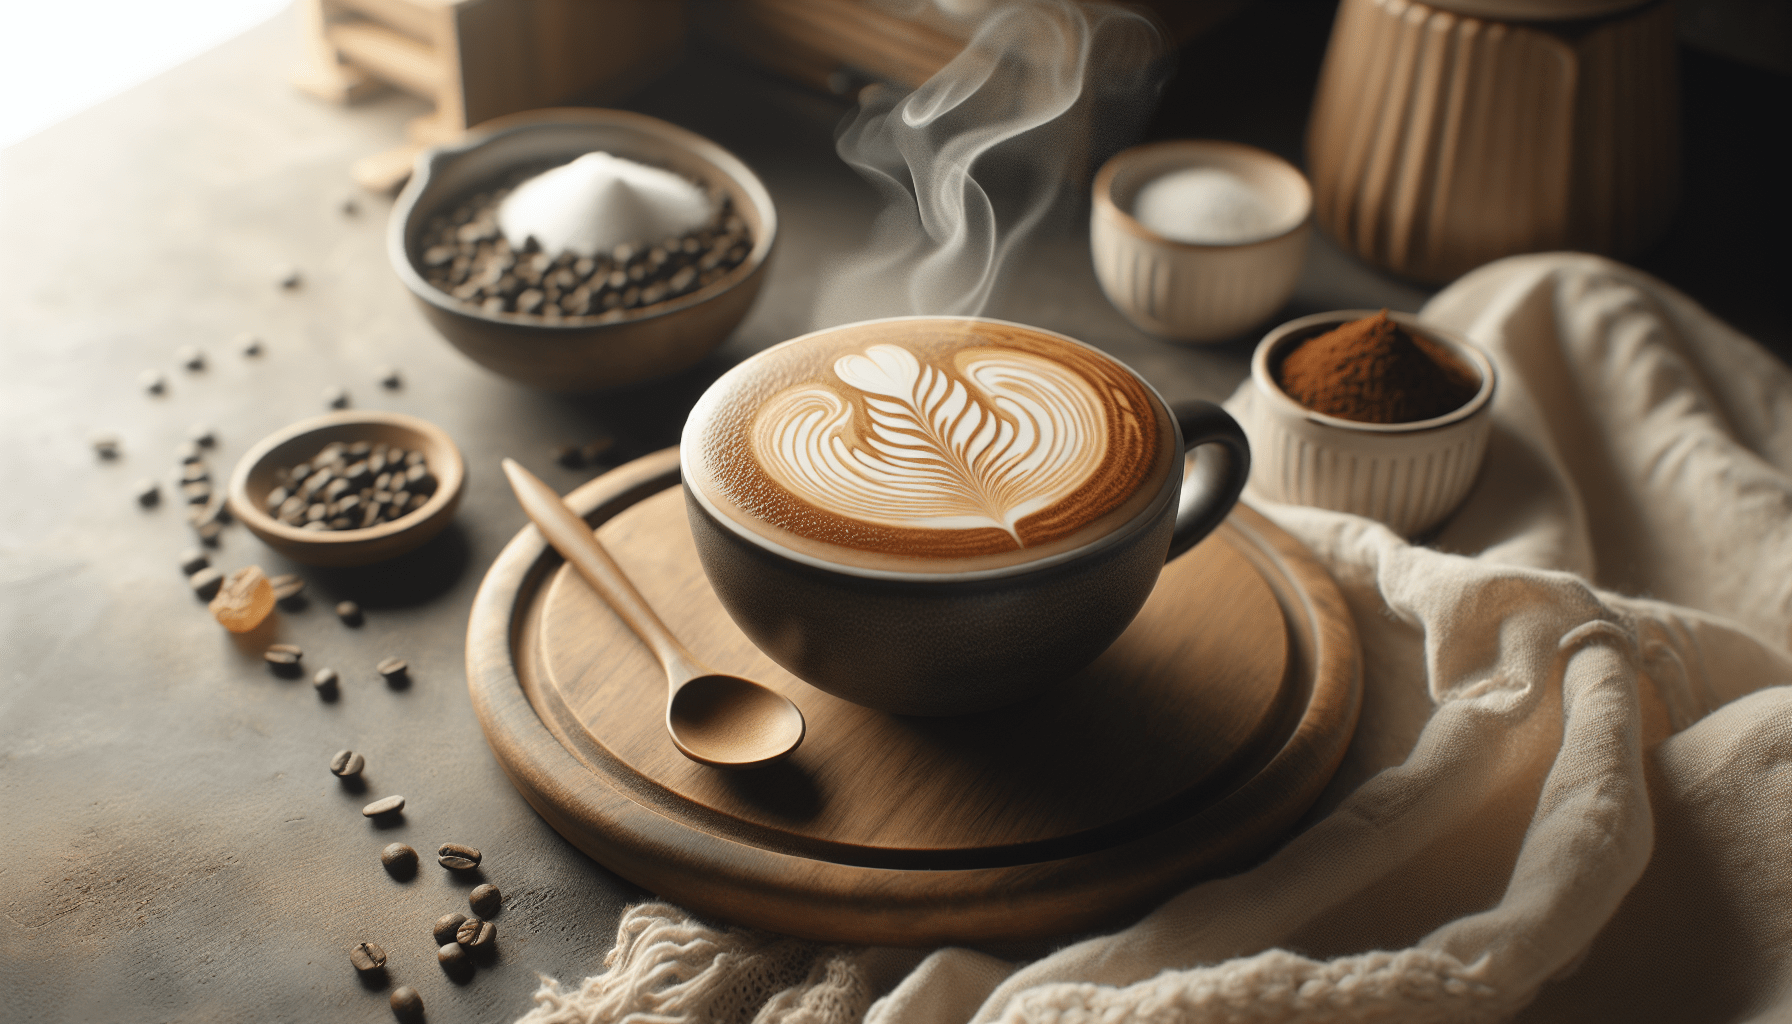
Calling all coffee lovers! Have you ever wondered how baristas create those mesmerizing designs on the top of your latte? Well, wonder no more! In this article, we will share the secrets to mastering latte art in the comfort of your own home. Get ready to impress your friends and family with stunning creations like hearts, rosettas, and even intricate leaf patterns. With a few simple techniques and a bit of practice, you’ll be able to transform your morning coffee routine into a work of art. So grab your favorite mug and let’s dive right in!

Understanding Latte Art
What is latte art?
Latte art is the technique of creating intricate and visually appealing designs on the surface of a latte or other espresso-based beverages. It involves manipulating steamed milk and espresso to form patterns, shapes, and even detailed images on the creamy surface of the drink.
Why is latte art important?
Latte art has become an essential part of the coffee culture, not only because it adds an aesthetic appeal to the beverage but also because it showcases the skill and craftsmanship of the barista. A beautifully crafted latte can elevate the overall coffee-drinking experience, making it more enjoyable and memorable for the customer. It also serves as a visual representation of the quality of the coffee beans, milk, and the barista’s expertise.
How is latte art created?
Latte art is created by combining properly frothed milk and a well-pulled shot of espresso. The barista pours the steamed milk into the espresso, manipulating the flow and direction to create specific designs. The process requires precision, a steady hand, and a good understanding of the various pouring techniques.
Types of latte art designs
There are numerous designs that can be created with latte art, but some popular ones include the heart, rosetta, tulip, swan, and phoenix. Each design requires specific pouring techniques and milk manipulation to achieve the desired outcome. Baristas often experiment with variations of these designs or come up with their own unique creations.
Popular latte art competitions
Latte art competitions have gained significant popularity over the years, giving baristas an opportunity to showcase their skills and creativity. Events such as the World Latte Art Championship and the Coffee Fest Latte Art Championship attract participants from all around the world. These competitions not only provide a platform for baristas to compete but also serve as a source of inspiration and community-building in the latte art world.
Essential Tools and Ingredients
Espresso machine or coffee maker
To create latte art at home, you will need either an espresso machine or a coffee maker capable of producing a strong shot of espresso. These devices allow you to extract the flavors and aromas from the coffee beans effectively.
Milk frother or steam wand
A milk frother or a steam wand is crucial for creating the perfect texture and temperature for steamed milk. It helps in aerating and stretching the milk, resulting in smooth and creamy foam that is essential for latte art.
Freshly roasted coffee beans
Using freshly roasted coffee beans is essential for achieving the best flavor in your espresso. Look for single-origin or specialty coffee beans that have been roasted within the past few weeks for optimal taste.
Whole milk with high-fat content
Whole milk with a higher fat content, such as 3.5% or more, is ideal for creating latte art. The higher fat content helps in achieving a creamier texture and better foam stability.
Latte art tools (spoon, toothpick, etching tool)
Latte art tools assist in creating intricate designs and manipulating the milk. These tools can include a spoon for pouring and shaping the milk, a toothpick or skewer for fine details, and an etching tool for drawing patterns on the surface of the latte.
Optional: flavored syrups or powders
If you like to experiment with flavors, you can add flavored syrups or powders to enhance the taste of your latte. However, it’s important to consider that some flavors might affect the stability of the milk foam and the overall latte art design.
Mastering Milk Steaming
Choosing the right milk
When it comes to latte art, choosing the right milk is crucial. Whole milk with a higher fat content is preferred as it creates a smoother and more velvety texture. Avoid using low-fat or non-dairy alternatives, as they may not produce the desired results.
Temperature and texture of milk
The temperature and texture of the steamed milk play a significant role in latte art. The ideal milk temperature is between 140°F to 160°F (60°C to 71°C). It should be steamed to achieve a glossy and creamy texture, with tiny microfoam bubbles. Overheating the milk can result in burnt or scorched flavors.
Steaming techniques
Steaming milk requires precision and practice. Start by purging the steam wand to remove any water or air trapped inside. Place the steam wand just below the surface of the milk, creating a whirlpool motion. As the milk expands, lower the pitcher to maintain the optimal steam wand position. Once the milk reaches the desired temperature, turn off the steam and wipe the wand.
Common troubleshooting
If you encounter issues with milk steaming, there are a few common problems and solutions. If the milk is not creamy enough, you may not be incorporating enough air during the steaming process. If the milk is too bubbly, you may be incorporating too much air, or the steam wand might be positioned incorrectly. Adjusting the technique and practicing will help you overcome these challenges.
Pulling the Perfect Shot of Espresso
Choosing the right coffee beans
Selecting high-quality coffee beans is crucial for pulling the perfect shot of espresso. Look for beans that are freshly roasted and within their peak freshness. Experiment with different origins and flavor profiles to find the one that suits your taste preferences.
Grinding the coffee beans
Grinding the coffee beans just before brewing is essential to preserve the flavor and aroma. Invest in a burr grinder to achieve a consistent grind size. For espresso, a finer grind is usually required compared to other brewing methods.
Tamping the coffee grounds
Properly tamping the coffee grounds ensures an even extraction and prevents channeling, which can result in an uneven espresso shot. Use a calibrated tamper and apply even pressure to create a flat and compact coffee puck.
Brewing the espresso shot
Once you have tamped the coffee grounds, place the portafilter into the espresso machine and start the brewing process. The ideal espresso shot should have a rich, caramel-colored crema, a balanced flavor profile, and a smooth texture. Monitor the extraction time to ensure it falls within the recommended range for your specific coffee beans.
Analyzing the espresso shot
Analyzing the espresso shot is crucial in achieving consistency. A well-pulled shot should have a consistent flow, a desirable volume, and a balanced taste. Take note of any deviations from your desired espresso characteristics and make necessary adjustments to the grind size, distribution, or extraction time.

Pouring Techniques for Latte Art
Understanding the pour
Pouring the milk into the espresso requires control and precision. Understanding the pour refers to the way in which the steamed milk is added to the espresso cup, creating a canvas for the latte art design. The pour should be smooth and continuous, without any interruptions or sudden movements.
Basic pour techniques (heart, rosetta, tulip)
The basic pour techniques consist of creating common designs like the heart, rosetta, and tulip. The heart is a beginner-friendly design that involves pouring milk in a circular motion, followed by a straight pour with a quick flick of the wrist to create the shape of a heart. The rosetta involves a continuous pour with a side-to-side motion and a flick of the wrist to create leaf-like patterns. The tulip is similar to the rosetta but incorporates a contrasting center vein down the center of the design.
Advanced pour techniques (swan, phoenix)
Once you have mastered the basic pour techniques, you can move on to more advanced designs like the swan and phoenix. These designs require more intricate pouring techniques, such as incorporating layers and manipulating the milk flow to create detailed feathers or wings. Practice and patience are key to mastering these advanced designs.
Tips for achieving symmetry and balance
Symmetry and balance are essential for creating visually appealing latte art. To achieve symmetry, focus on evenly pouring milk on both sides of the cup. Pay attention to the speed and height of the pour to control how the milk mixes with the espresso. Adjusting the technique, angle, and rhythm of your pour will help achieve better balance in your designs.
Experimenting with free-pour latte art
Once you have become comfortable with the basic and advanced pour techniques, free-pouring allows for more creativity and experimentation. Free-pouring involves creating unique designs without relying on predefined shapes or patterns. It allows you to express your artistic side and explore unconventional designs that reflect your style and personality.
Etching and Manipulation Techniques
Using tools for etching
Etching involves using tools such as spoons, toothpicks, or specialized etching tools to create detailed outlines and patterns on the surface of the latte art. These tools can be used to create fine lines, dots, or even intricate shapes. Practice and experimentation will help you discover different techniques and tools that work best for your desired designs.
Creating outlines and patterns
Outlining and pattern-making are essential aspects of etching in latte art. By carefully manipulating the surface of the milk foam, you can create clear outlines and shapes that enhance the overall design. Etching tools or toothpicks can be used to drag or swirl the milk to create patterns, add shading, or highlight specific areas of the design.
Manipulating milk for detailed designs
Manipulating the milk foam is a skill that requires practice and experimentation. By controlling the flow and direction of the milk, you can manipulate the depth and texture of the design. Techniques such as layering and feathering can be used to create three-dimensional effects or add texture to specific areas of the latte art.
Combining pouring and etching
Combining pouring and etching techniques allows for more complex and visually appealing designs. By first pouring the base design and then using etching tools to add details and refine the design, you can create intricate and unique latte art that showcases your creativity and skill. The possibilities are endless when it comes to combining these two techniques.

Troubleshooting Common Issues
Milk not frothing properly
If the milk is not frothing properly, ensure that you are using fresh milk with a high fat content and the correct milk steaming techniques. Make sure that the steam wand is clean, and there are no obstructions that may affect the steam flow. Adjust the steam wand position and the amount of air incorporated to achieve the desired frothiness.
Inconsistent espresso shots
Inconsistent espresso shots can be attributed to various factors such as grind size, tamping pressure, or extraction time. Experiment with these variables to find the optimal combination that produces consistent espresso shots. Regularly clean and maintain your espresso machine for optimal performance.
Patterns not forming correctly
If patterns are not forming correctly, it could be due to improper pouring technique, milk texture, or the temperature of the milk. Ensure that your milk steaming technique is correct and that the milk is aerated and stretched properly. Practice pouring techniques to achieve better control and precision in shaping the patterns.
Mistakes during pouring and etching
Mistakes during pouring and etching are common, especially as you are learning and experimenting with different techniques. Embrace the learning process and use mistakes as opportunities for growth. Keep practicing and refining your pouring and etching skills, and soon you’ll be able to create stunning latte art consistently.
Practice and Patience
Importance of practice in latte art
Like any skill, practice is vital in becoming proficient in latte art. Regular practice allows you to refine your technique, gain muscle memory, and develop an understanding of the milk behavior. It also helps you become more confident in your abilities and explore new and challenging designs.
Creating a practice routine
To improve your latte art skills, create a practice routine that fits your schedule and goals. Set aside dedicated time each day or week to practice specific techniques, designs, or troubleshooting areas that you want to focus on. Document your progress and make note of any areas that need improvement.
Progress tracking
Tracking your progress is essential for identifying areas of improvement and growth. Take pictures of your latte art designs and compare them over time. Look for patterns, evaluate your consistency, and make adjustments based on your observations. Celebrate your achievements and acknowledge the progress you have made along your latte art journey.
Seeking feedback and guidance
Seeking feedback and guidance from others can provide valuable insights and constructive criticism. Share your latte art with friends, family, or online communities and ask for feedback. Engage with experienced baristas or attend latte art workshops to learn from their expertise. Continuous learning and willingness to accept feedback will help you refine your skills further.

Latte Art Without Espresso Machine
Alternative coffee brewing methods
If you don’t have an espresso machine, there are alternative coffee brewing methods that can still produce a strong and concentrated coffee base for latte art. Popular methods include using a Moka pot, AeroPress, or even a French press. Experiment with these methods to find one that suits your taste preferences and allows you to create latte art.
Using a milk frother or hand whisk
Without an espresso machine, you can still create textured milk by using a milk frother or hand whisk. Heat the milk on the stovetop, then froth it vigorously using a milk frother or whisk until you achieve the desired texture. While the milk may not be as creamy or velvety as with a steam wand, it can still be used to create simple latte art designs.
Adapting pouring and etching techniques
When using alternative brewing methods and milk frothers, it may be necessary to adapt your pouring and etching techniques. The type and texture of the milk may be different, requiring adjustments in the pouring speed, angle, and patterns. Experimentation and practice will help you adapt your techniques to the available tools and ingredients.
Taking Latte Art to the Next Level
Adding depth and dimension to designs
To take latte art to the next level, focus on adding depth and dimension to your designs. Experiment with layering techniques, using varying consistency of milk foam, and manipulating the milk flow to create three-dimensional effects. By playing with light and shade, you can make your designs appear more realistic and visually striking.
Experimenting with different milk alternatives
While whole milk is traditionally used in latte art, don’t be afraid to experiment with different milk alternatives. Plant-based milk options like almond, oat, or soy can produce interesting flavors and textures. Each alternative milk has unique characteristics, so consider their frothability and taste when creating latte art with them.
Incorporating colors and flavors
Get creative with colors and flavors to make your latte art stand out. Natural food colorings or edible powders can be used to add subtle hues to your latte art designs. Additionally, flavored syrups or powders can enhance the taste and aroma of your latte while also adding visual interest. Remember to consider the effect any added ingredients may have on the stability of the milk foam.
Participating in latte art events and competitions
Participating in latte art events and competitions can be a thrilling way to challenge yourself, receive feedback, and showcase your skills. Look for local or international latte art competitions, art festivals, or coffee-related events that offer latte art categories. The experience of competing and being part of a passionate community can help you grow as a latte artist and provide valuable exposure.
Mastering latte art takes time, patience, and a willingness to learn and experiment. By understanding the techniques, investing in quality tools and ingredients, and dedicating yourself to regular practice, you can create beautiful and impressive latte art right in the comfort of your own home. So gather your tools, prepare your espresso, and let your creativity flow as you embark on your latte art journey.


